 These slightly sweet chocolate rolls are eaten in France as a breakfast treat or an after school snack. Typically the dough is a puff-pastry style dough but I recently found a recipe for a softer, dinner roll type dough and thought I'd give it my own spin. The result is a pillowy soft roll with melted chocolate inside that has become quite a hit in this house. The chocolate provides just enough sweetness to make it feel like a treat but the dough is actually 100% whole wheat so it's a treat you can feel good about.
 Whole Wheat Chocolate Rolls (adapted from this King Arthur Recipe)
1 1/4 cups lukewarm water
3 Tbsp. sugar
4 Tbsp. butter, softened (or Earth Balance)
2 tsp. vanilla
2 1/4 cups white whole wheat flour or regular whole wheat flour
1/3 cup dried potato flakes
2 Tbsp. ground flax meal (opt.)
1 Tbsp. vital wheat gluten
1 1/4 tsp. salt
2 tsp. or one envelope of yeast
~1 cup of semi-sweet chocolate chips
 In the bowl of a stand mixer, mix together all ingredients except the chocolate chips. The dough should come together resembling the texture of play-doh. Use the dough hooks to knead the dough for about 4-5 minutes. This dough stays sticky so it's hard to knead by hand. If you don't have a stand mixer with dough hooks, lightly oil your counter top and hands before you try to knead it. You don't want to add more flour to keep it from sticking.
Cover the dough and let it rise for about 90 minutes or until almost doubled.

Divide dough in half. Roll half of the dough into a rectangle 9"x8". Cut the dough into 6 even rectangles.
 Place some chocolate chips about 1/3 of the way down on the small rectangle. The amount of chocolate is up to you but you'll need to be able to close the dough.
 Fold the top of the dough to cover the chips....
 and press the seam closed.
 Lay more chocolate chips in the seam....
 and fold the bottom of the dough up, sealing in the chocolate chips.
 It's okay if the chips show from the ends. They won't melt out during baking.
  Repeat with the rest of the small rectangles and with the other half of the dough. Lay the rolls seam side down on a parchment lined baking sheet. Cover lightly with a piece of greased plastic wrap. Let them rise for about an hour.
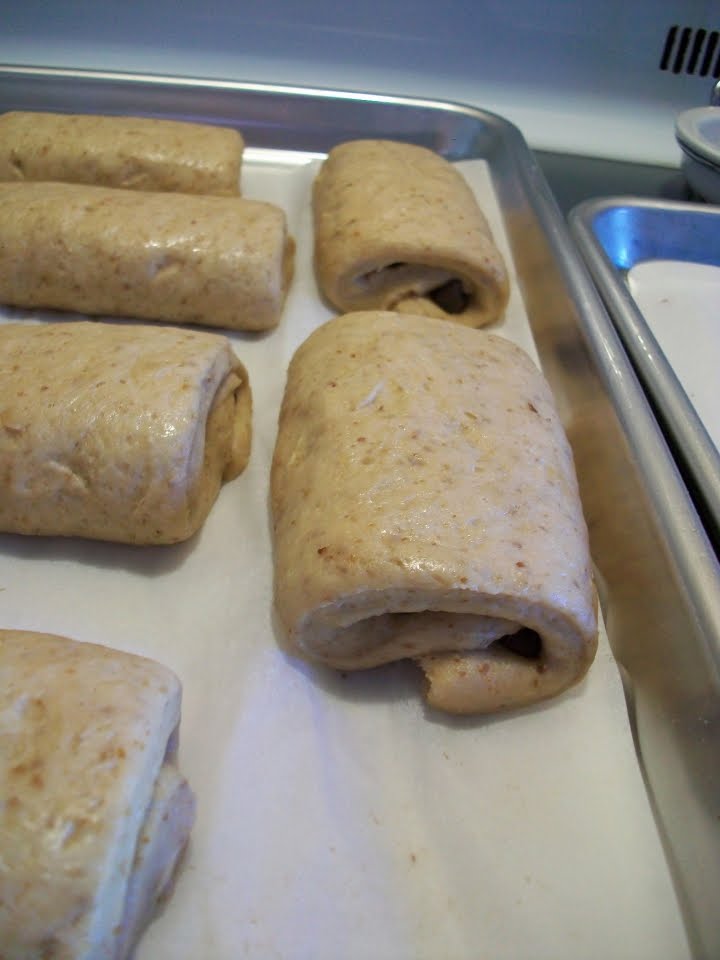 They'll look slightly puffy but shouldn't be huge.
 Preheat oven to 350*
 Bake at 350* for about 20 minutes. You want the edges to be just barely golden brown. Move them to a cooling rack to cool completely if you don't plan on eating them right away.
 Dust with powdered sugar if you like. These are best eaten slightly warm. They reheat nicely in the microwave for about 10 seconds.
 Melted chocolate inside a soft, flavorful roll... doesn't get much better then that!


