At the end of part one the main legs of our shalwar were finished, now we will be sewing the belt piece and attaching it to the legs, and finishing up our shalwar.

Take the two pieces of you belt and sew a half inch seam, this is the center back seam. If you were able to cut one long piece for the belt then you can just skip this step.
 Step 2
Make sure your leg pieces are right side out, with the right sides facing place one end of the belt half an inch to the left of the center seam and pin. The half inch is for the center front seam so you will start sewing on the center line of the legs not the exact edge of the belt.
 See the extra half inch? Pin the belt in place starting half an inch in from the edge.
 Step 3
Working your way around pin the belt in place every couple of inches.
 Step 4
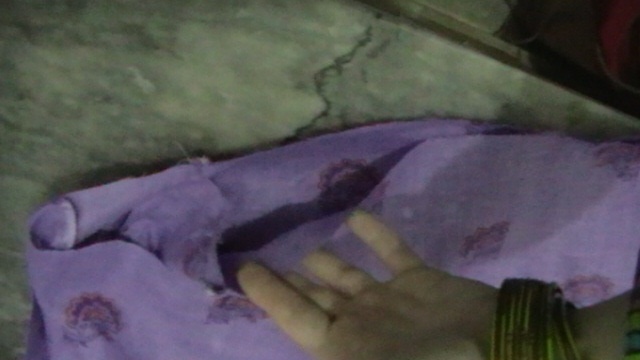
When you get close to the center back seam of the belt you will see that it does not match to the center seam of the legs. You will now need to make one or more knife pleats on either side of the center seam to make the center of the belt match the center of the legs. Here is a tutorial on making knife pleats, they actually measure but usually I just kind of eyeball it.
 With the belt facing down, I pinch the excess fabric of the leg and form my pleats.
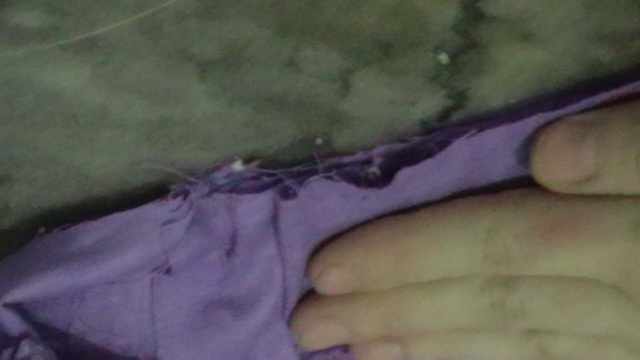 After pinching lay the excess flat and pin in place.
 On the inside the pleats will face towards the seam, on the outside the pleats should face outwards, away from the seam. Remember to make the same number and same size of pleats on either side of the seam. Continue pinning the belt in place all the way around until you get to the center front seam again. You should have about a half inch extra on this side also.
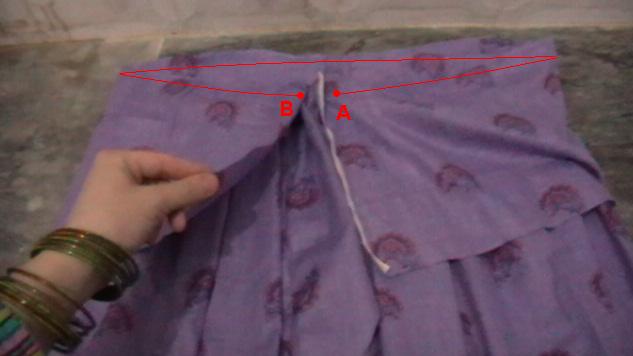 Step 5
Starting at point A, sew around the top, sewing the belt to the legs until you get almost back to were you started at point B.
 Step 6
Now you will sew up the center front seam of the belt piece. Matching up points A and B, and making sure the leg pieces do not get caught in the seam, sew from just above points A and B to point C, stop and turn around sew back for one inch to secure the seam. the distance from point C to the top of the belt should be 1.5 inches. This will be the opening for the drawstring.
 Step 7
On the wrong side fold the edges of the center front seam away from the seam, and sew a line of stitches down one side across the bottom and up the other side.


 Step 8
Starting from the center front seam, one quarter inch up from the seam that attaches the belt to the legs, sew a line of stitching to keep the extra cloth in the seam facing upwards. You should catch the seam that you made when attaching the belt to the legs.

 Step 9
Now you will sew the drawstring casing. Starting at the center front where you made the opening, on the wrong side of the cloth, fold the top down half an inch, and then fold it down one inch, and sew along the very bottom edge to form the casing.

 Step 10
Line up the inside seams, at the bottom of each foot opening mark out from the fold 7 inches.
 Step 11
On the center crotch seam mark up from the bottom half an inch.
 Step 12
 Step 12
Draw a connecting line from the mark on one foot(point A) up to the center mark(point B), and then back down to the other leg(point C).
 Step 13
Starting one inch away from point A sew down to the bottom of the leg and then turn and sew up to point B(center crotch seam), and then down to point C. When you get to the bottom of the second leg, turn and sew back up one inch, sewing back over the stitches at each of the foot openings reinforces them.
 Your gathered belt shalwar with a simple leg is now finished, and showed look something like this-
 If you see a mistake in this tutorial or need more explanations feel free to leave a comment and inshAllah, I'll get back to you as soon as possible.
